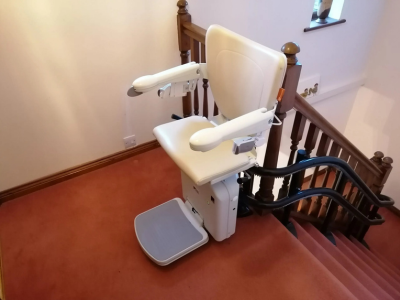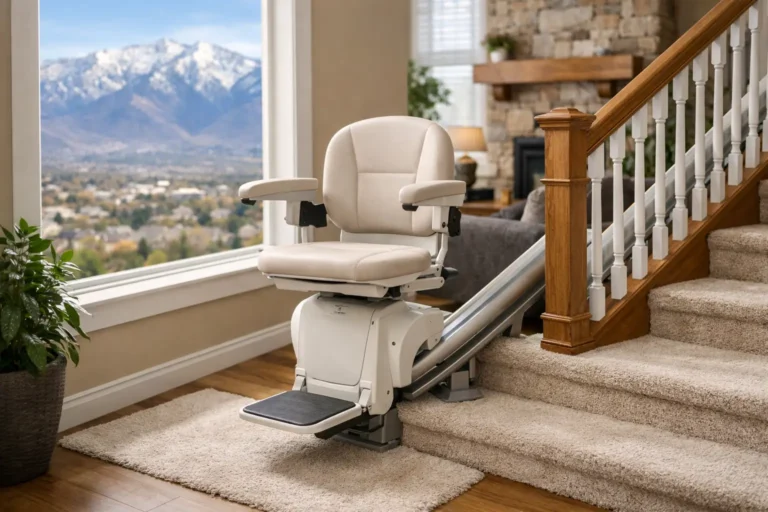
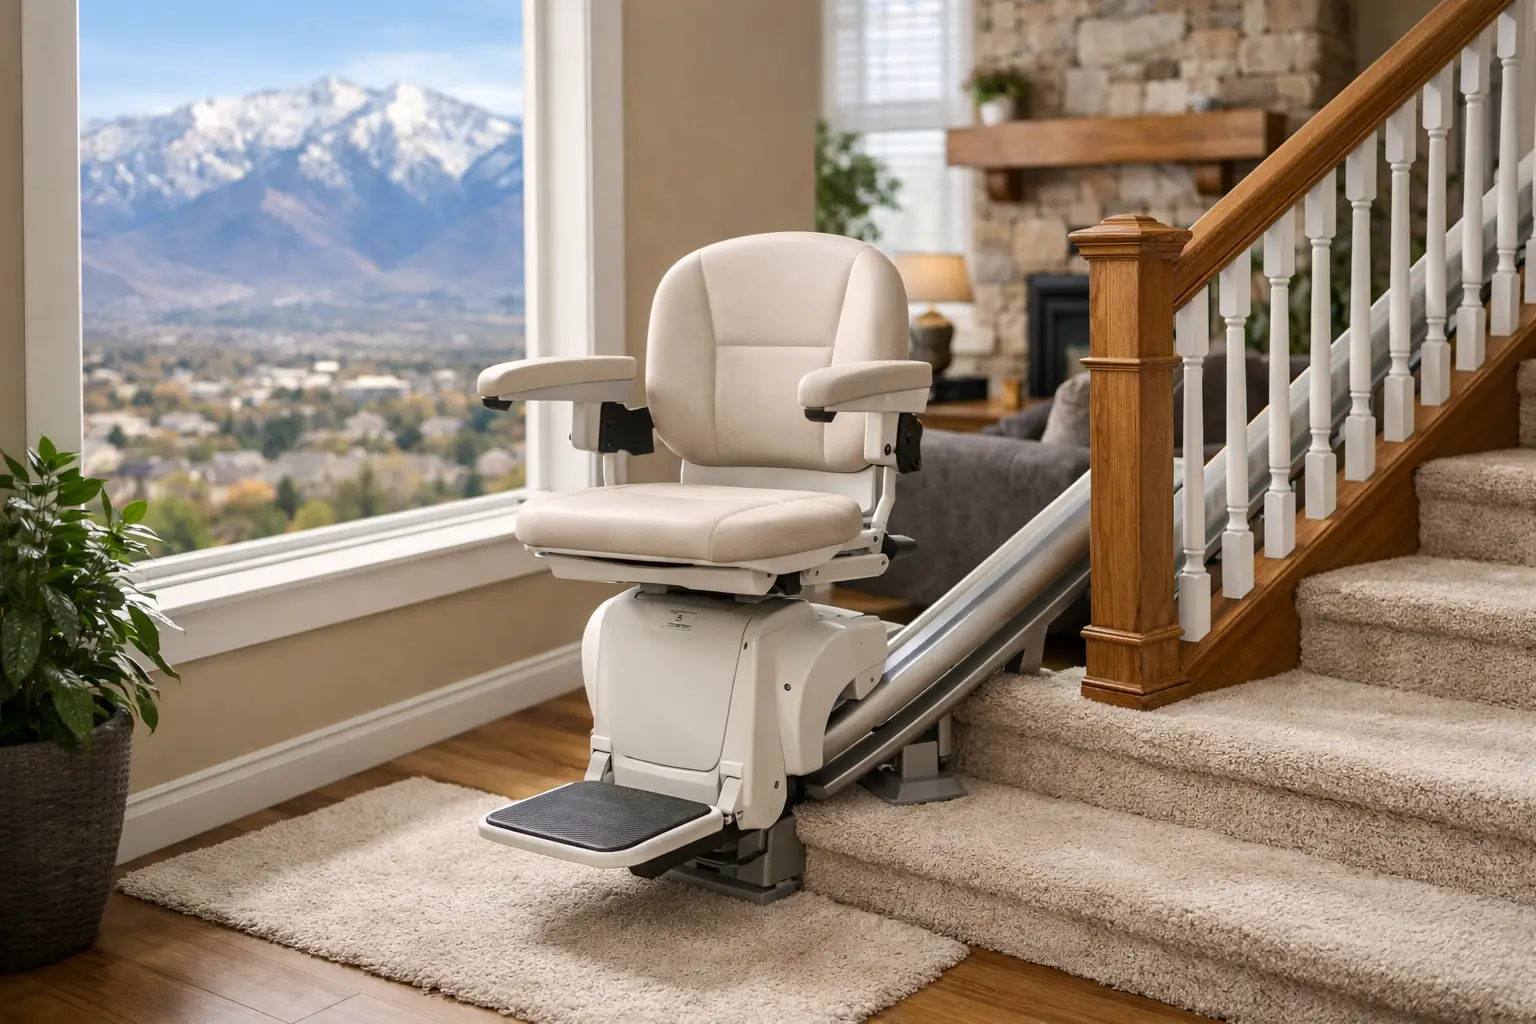
Preparing for a stairlift installation begins with understanding the staircase and the person who will use the lift. In Northern Utah homes, a clear measurement plan and a conversation about daily mobility needs can help avoid surprises before equipment is selected.
What should you do before a stairlift installation?
Start by documenting the staircase, identifying obstacles, and discussing how the rider will get on and off the chair. A stairlift typically travels on a rail attached to the stair treads, but the correct configuration depends on the stair shape, landing space, and the lift model. A professional assessment is the best way to confirm suitability.
Quick pre-installation checklist
- Photograph the full staircase from both ends, including every turn or landing.
- Note the clear stair width, door swings, and obstructions near each landing.
- Identify where the rider will transfer on and off the seat.
- Check for a nearby outlet, but leave electrical changes to qualified professionals.
- Clear loose rugs, boxes, and furniture before the installer arrives.
- Ask the installer to demonstrate charging, safety controls, and emergency procedures.
Step 1: Identify whether the stairs are straight or curved
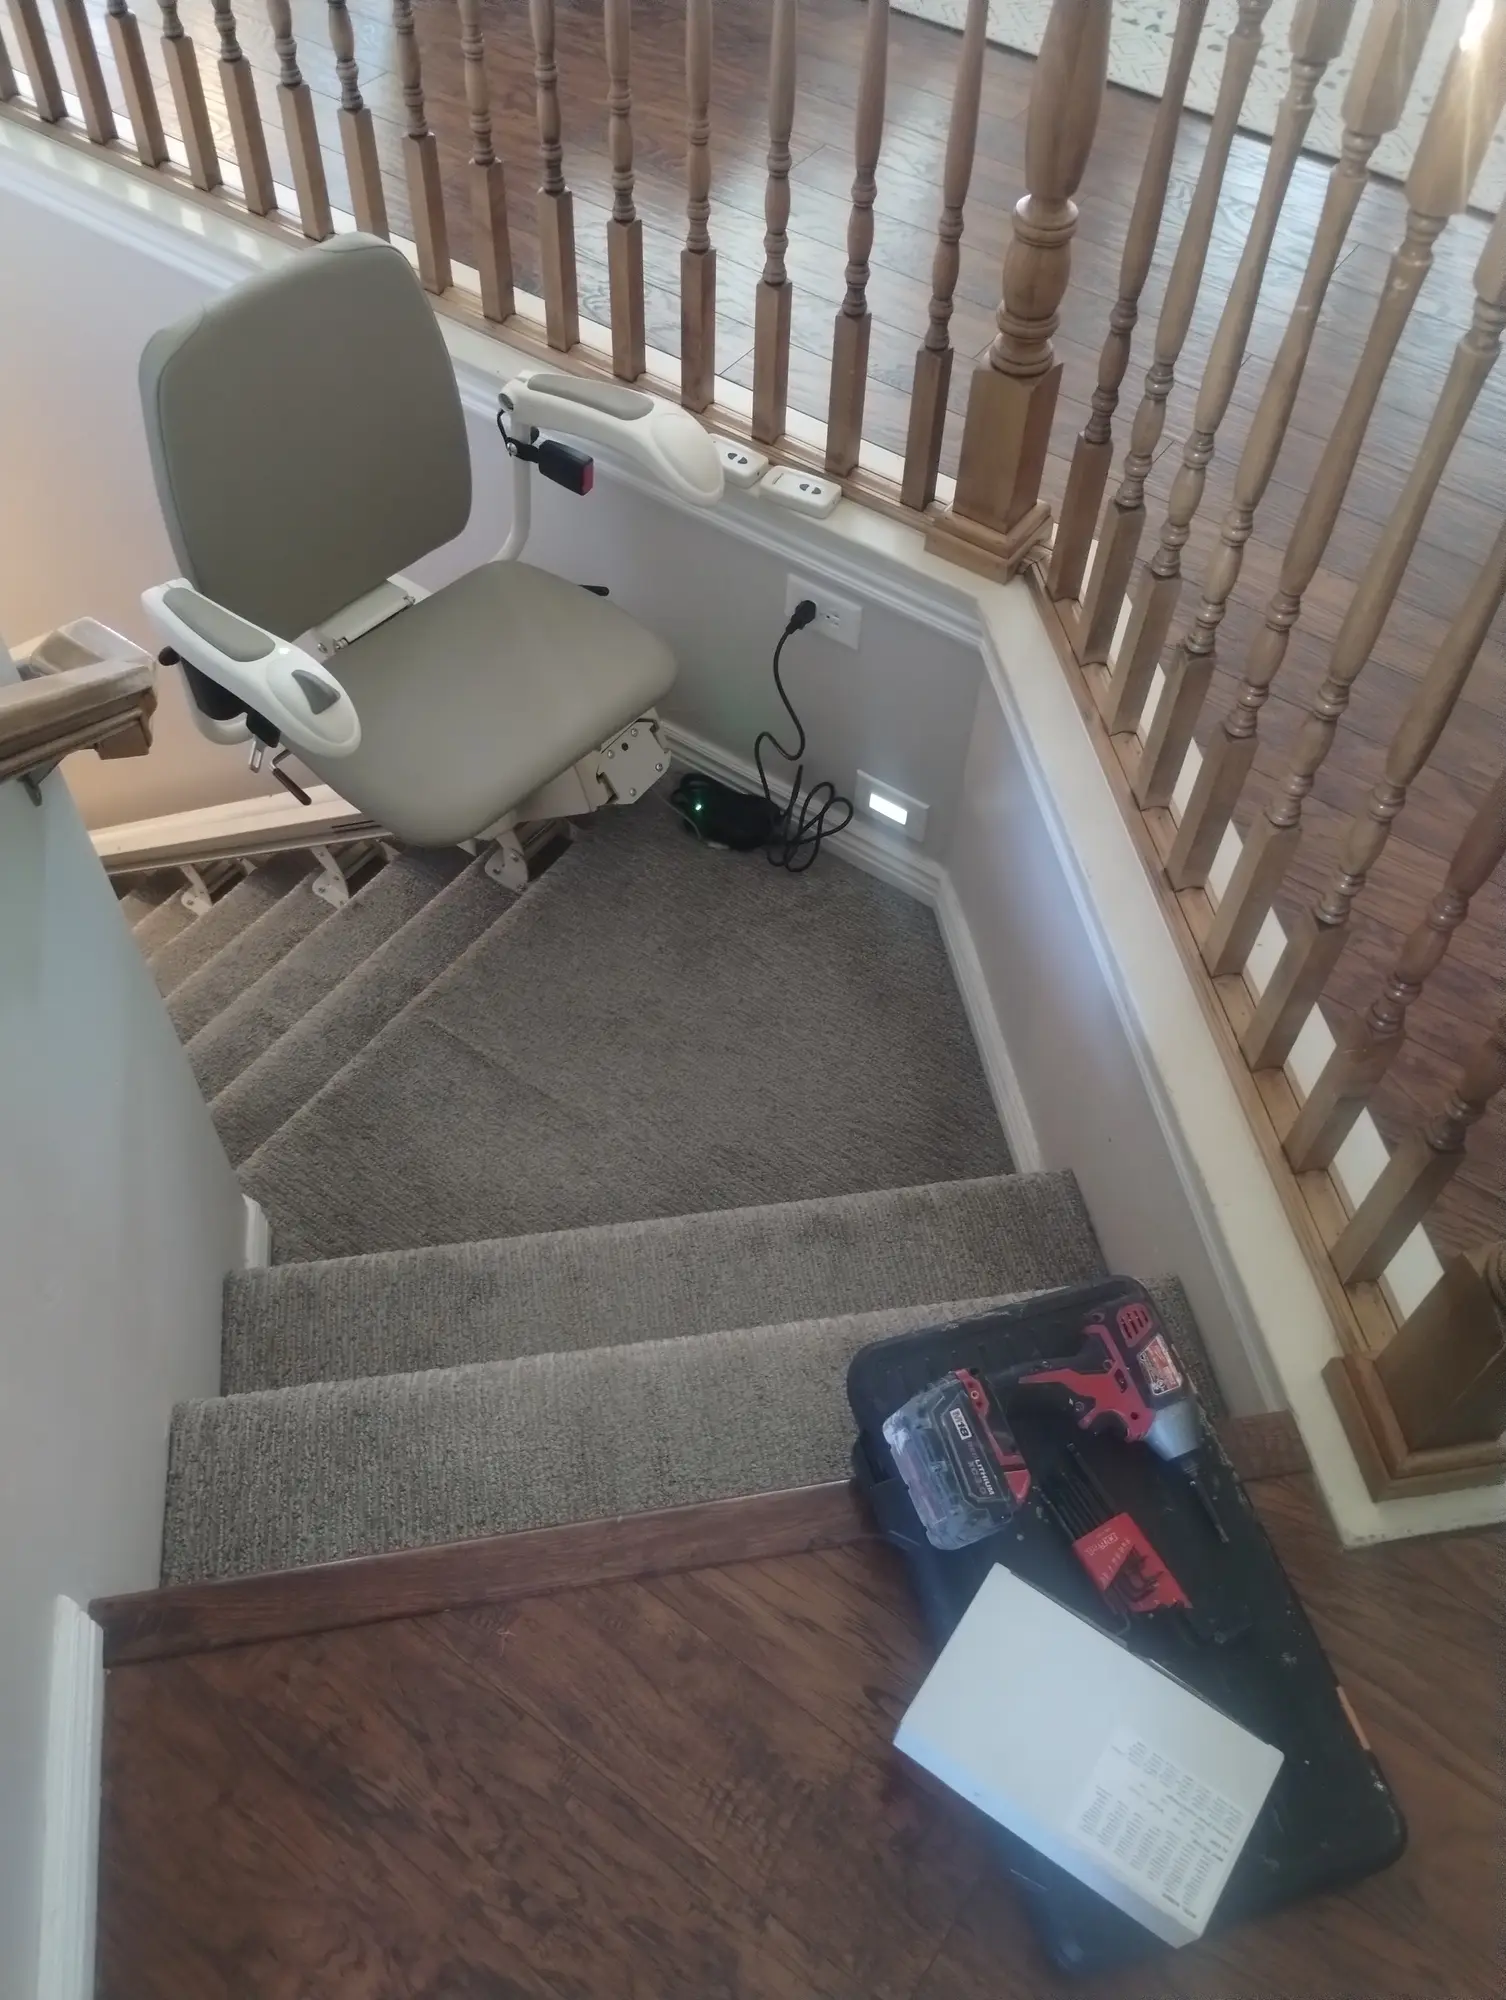
A straight staircase usually has one uninterrupted run without turns or intermediate landings. Curved staircases may include bends, angled steps, a landing, or a change in direction. Even a staircase with two straight runs can require a custom curved solution when the lift must travel around a corner or across a landing.
Take photos from the top and bottom of the stairs. If there is a landing, photograph how the two runs connect. This gives the installer a starting point, although photos alone are not a substitute for measurements.
What to record before the consultation
| Item | What to note |
|---|---|
| Stair layout | Straight, curved, or a turn at a landing |
| Approximate clear width | Narrowest point between obstacles |
| Entry and exit | Door swings, walker storage, transfer space |
| Rider needs | Seated balance, controls, caregiver assistance |
| Power | Location of nearby outlets |
These notes help organize the visit; they are not installation specifications. Final measurements, mounting, clearances and equipment selection should be confirmed by the installer. Learn more about curved stairlift options and fitting a lift on a tight staircase before your assessment.
Step 2: Check stair width and clearances
Measure the clear width of the staircase and note handrails, trim, doors, and other features that may reduce usable space. The lift’s folded and unfolded dimensions matter because other household members may still need to use the stairs.
Look for obstructions near the top and bottom of the route, including furniture, cabinets, radiators, and door swings. Do not remove handrails or modify the stairs in anticipation of installation without first discussing the specific lift requirements.
Step 3: Review the top and bottom landings
Safe entry and exit are as important as the ride itself. A person may need room to stand, transfer from a wheelchair, or use a walker after leaving the chair. Some lift configurations can offer different parking positions or swivel-seat features, depending on the model.
Consider whether a door opens into the landing and whether the rider would be stepping toward an open staircase. These details should be discussed during the assessment rather than assumed to be solved by any particular feature.
Step 4: Discuss the rider’s needs
Ask practical questions: Can the rider sit comfortably and remain seated during travel? Can they operate the controls? Do they need help transferring? Will a caregiver assist? A stairlift may be helpful for someone who can transfer safely to a seated position, but it is not the right solution for every mobility situation.
Share any relevant mobility-device dimensions with the installer. A stairlift carries the person, not a wheelchair, so the household may need a plan for mobility aids on both floors.
Step 5: Locate a suitable power source
Many residential stairlifts use rechargeable batteries and a charging system, but the power arrangement varies by manufacturer and model. Identify nearby outlets and tell the installer about any access limitations. Do not run extension cords or make electrical changes based on guesswork; confirm the equipment’s requirements first.
Step 6: Prepare the staircase and access route
Before the appointment, clear shoes, rugs, boxes, and other loose items from the stairs and landings. Make sure the installer can reach the work area and bring in the rail and chair components. If pets or children are at home, keep them away from the active installation area.
You generally do not need to replace carpet or repaint the staircase simply to prepare for a lift. Whether any surface repair or special fastening approach is needed should be determined from the actual stairs and the equipment selected.
Step 7: Plan for the installation demonstration
Before using the lift independently, ask for a demonstration of the controls, seat belt, folding components, charging behavior, and any model-specific safety features. Learn what normal operation looks and sounds like, what to do if the lift stops, and who to contact for service.
Keep the product instructions and service information in an accessible place. Make sure anyone who will help the rider understands the safe-use instructions provided for that model.
What changes for curved stairs or outdoor lifts?
Curved lifts generally require more detailed measurements and a rail configuration tailored to the stair geometry. Outdoor lifts also need equipment specifically intended for exterior conditions. In Utah, exposure to snow, rain, dust, and temperature swings makes it especially important to discuss weather protection and routine care.
Do not assume that an indoor lift can be installed outdoors or that all stairlifts have the same weight capacity, power requirements, or service intervals. These are model-specific questions.
Stairlift planning in Ogden and nearby Utah communities
Homeowners in Ogden, North Ogden, Riverdale, Layton, Farmington, Bountiful, Morgan, and Brigham City may encounter different stair layouts, from compact straight runs to split-level homes with turns and landings. The important local detail is the actual staircase and the way the household uses it, not a one-size-fits-all city claim.
If you are comparing options for a Northern Utah home, gather a few clear photos, approximate stair measurements, and notes about the rider’s daily routine before requesting an assessment.
Use the checklist above when preparing for your installation appointment.
Frequently asked questions
Does a stairlift attach to the wall?
Many stairlifts use a rail fastened to the stair treads rather than relying on the wall for support. The exact mounting method depends on the model and staircase, so confirm it with the installer.
Can a stairlift fit a staircase with a landing?
Sometimes. A landing or turn may call for a curved rail or another configuration. The available space and rider’s needs determine what is practical.
How long does installation take?
Timing varies with the model, staircase, site readiness, and whether the rail is straight or custom curved. Ask for a project-specific estimate rather than relying on a universal installation time.
What if the power goes out?
Battery-equipped lifts may provide limited operation during a power interruption if the batteries are charged. The number of trips and charging behavior vary, so check the manufacturer’s guidance for the selected lift.
Next step: request a staircase assessment
Olympus Stairlifts can discuss stairlift options for Northern Utah homeowners. Share photos of the stairs, describe any landings or turns, and explain the rider’s mobility needs so the next conversation focuses on the right questions. Equipment selection and installation details should be confirmed for the individual home.