A stair lift can change daily life quickly. For many families, the question is not just how to install a stair lift, but how to do it in a way that protects safety, preserves independence, and fits the home correctly the first time.
That matters because stair lifts are not one-size-fits-all equipment. A properly installed unit should feel steady, smooth, and dependable from the first ride. If the rail is misaligned, the seat is positioned poorly, or the charging points are set up incorrectly, the lift may be uncomfortable at best and unsafe at worst.
How to install a stair lift starts with the staircase
Before any tools come out, the staircase itself needs to be evaluated. This is where many homeowners are surprised. The lift is usually mounted to the stair treads, not the wall, so the wall structure is often less important than the shape and condition of the stairs.
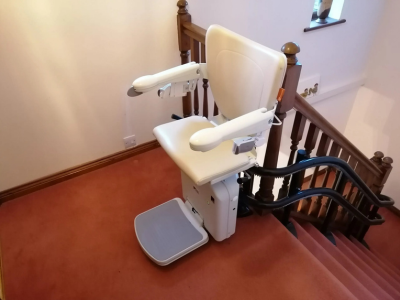
A straight staircase is the simplest setup. If the stairs go in one direction with no turns, landings, or curves, installation is usually faster and less complex. Curved staircases, stairs with intermediate landings, or narrow layouts require custom rail design and more detailed planning.
Measurements have to be exact. The installer needs the full run of the staircase, the width of the stairs, the placement of obstructions such as trim, doorways, or handrails, and enough room at the top and bottom landings for safe entry and exit. Headroom also matters. A lift that technically fits the stairs may still create a poor experience if the rider feels cramped or cannot get on and off comfortably.
The installation process, step by step
If you are wondering how to install a stair lift in practical terms, the process usually follows a clear sequence. The exact steps vary by model, but the general flow stays fairly consistent.
1. Confirm the right lift type
First, the lift itself must match the home and the user. Straight stair lifts, curved stair lifts, outdoor stair lifts, and heavy-duty models all install differently. Seat height, weight capacity, swivel function, folding footrest, and call-send controls may also influence setup.
This is one reason a home assessment is so valuable. What looks fine on paper can change once someone sees the stairs in person.
2. Prepare the staircase
The stairs should be clean, dry, and structurally sound. Loose carpet, damaged treads, or debris on the staircase can interfere with bracket placement and final alignment. If there are repairs needed, those should be handled before installation day.
Power is another consideration. Most modern stair lifts run on batteries that charge at designated points on the rail, but they still need access to a standard household outlet. The outlet location can affect where the charging system is placed and whether any electrical adjustments are needed.
3. Mount the rail to the stairs
The rail is the foundation of the whole system. Installers position brackets along the staircase and secure them to the treads at calculated intervals. The rail is then attached and leveled so the carriage can travel smoothly.
This step sounds simple, but precision matters. Even a small alignment issue can create vibration, noise, or uneven travel. On a curved system, the margin for error is even smaller because the rail is built to follow the exact shape of the staircase.
4. Install the carriage and seat
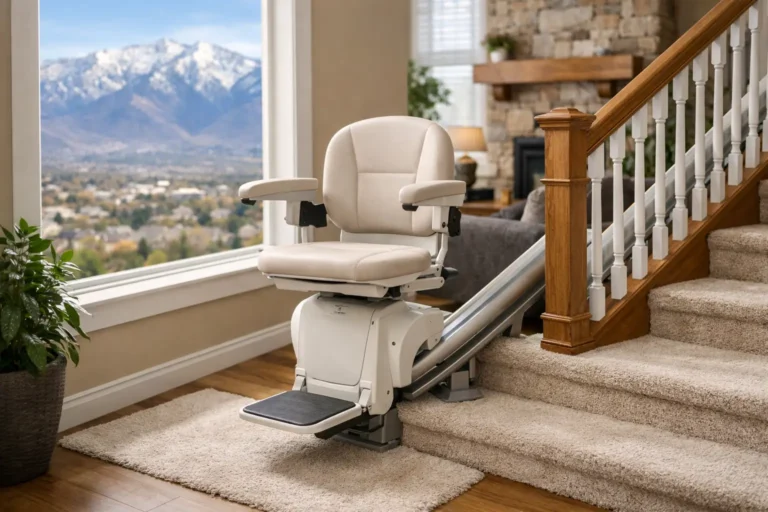
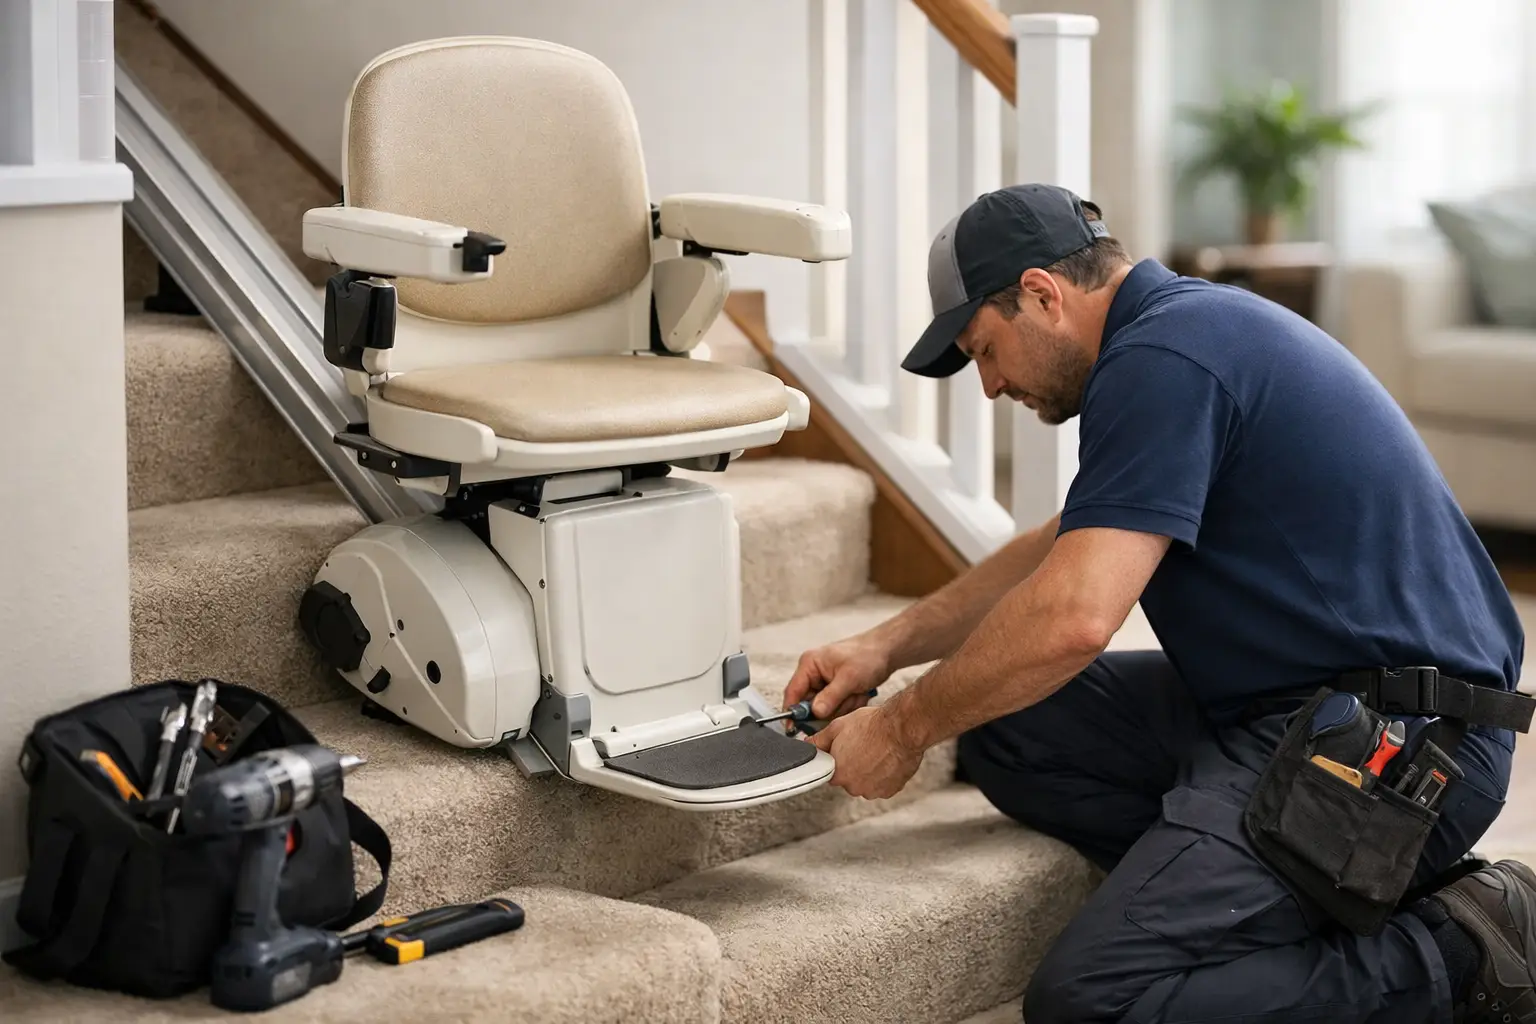
Once the rail is secure, the carriage is placed onto the track. This is the motorized part that moves along the rail. The seat assembly, armrests, footrest, and safety controls are then attached according to the manufacturer’s specifications.
At this stage, the installer checks seat height, swivel lock function, folding components, and belt operation. The goal is not just getting the lift assembled, but making sure it works for the person who will actually use it.
5. Connect power and charging points
The charging system must be positioned so the lift batteries recharge properly when parked. If the charging contacts are off, the unit may not hold power as expected. That can lead to frustrating interruptions later.
A professional installer will confirm outlet access, battery operation, and charging performance before the job is finished.
6. Test the lift thoroughly
After installation, the lift should be run multiple times without a rider and then tested with normal use in mind. The installer should confirm smooth starts and stops, proper seat swivel function, footrest clearance, obstruction sensors, remote controls, and final parking positions.
This is also when the user and family should receive a clear walkthrough. Knowing how to fold the unit, send it up or down, fasten the seat belt, and respond to basic alerts is part of a successful installation.
Why professional installation is usually the better choice
Some homeowners search for how to install a stair lift because they are hoping to save money with a do-it-yourself approach. That instinct is understandable. But stair lifts are safety equipment, not just convenience products.
A DIY installation may seem possible with certain straight-track models, yet the trade-off is risk. Incorrect measurements, poor bracket placement, charging issues, or overlooked landing clearance can create problems that are expensive to fix later. More importantly, those mistakes can put the rider at risk.
Professional installation usually brings three advantages that matter right away. First, the lift is fitted to the actual home rather than guessed from rough measurements. Second, the system is tested for safety and reliability before use. Third, the homeowner has someone to call if adjustments or service are needed after installation.
For families making decisions for a parent, spouse, or recovering loved one, that peace of mind is hard to put a price on.
Common issues that affect stair lift installation
Not every staircase is straightforward. Some homes have narrow stairs that still need enough clearance for other household members. Others have doorways near the top landing, unusual trim, or flooring transitions that change where the rail can begin or end.
Weight capacity is another factor. A standard unit may work well in one home, while another household needs a heavy-duty model with a wider seat and stronger rail system. Outdoor installations add weather resistance, waterproofing, and temperature concerns to the equation.
Then there is the question of timeline. Straight lifts are often installed faster because the rails are more standardized. Curved lifts usually take longer because the rail must be custom manufactured to match the staircase exactly. If a family needs a mobility solution quickly, that difference matters.
What homeowners should expect on installation day
In most cases, installation is less disruptive than people expect. The work is focused on the staircase itself, and there is usually no major remodeling involved. A qualified technician arrives with the lift components, protects the work area as needed, installs the rail and seat, tests the system, and reviews operation with the homeowner.
A straight stair lift can often be installed in a matter of hours. A more complex setup may take longer, especially if the staircase has custom features or tight clearances. Either way, the process should end with the home clean, the lift fully operational, and the user comfortable with how it works.
This is where working with an experienced local company helps. Providers such as Olympus Stairlifts understand that the installation is only part of the service. Families also need guidance before the install and support after it.
Safety matters more than speed
When people ask how to install a stair lift, they are often really asking a bigger question: how do we make this home safer without making life more complicated? The answer is to treat the installation as a personalized safety solution, not a generic equipment drop-off.
A stair lift should fit the staircase, the rider, and the daily routine of the household. That means careful measuring, proper mounting, complete testing, and clear instruction. It also means being honest about when a staircase needs a custom solution instead of a quick fix.
The best installation is the one that disappears into daily life. It lets someone move between floors with less strain, less fear, and more confidence. When that happens, the equipment is doing more than carrying a chair up the stairs. It is helping someone stay at home, stay comfortable, and stay independent a little longer.
If you are considering a stair lift, the smartest first step is not buying a box online. It is getting the staircase evaluated by someone who knows what safe installation really requires.